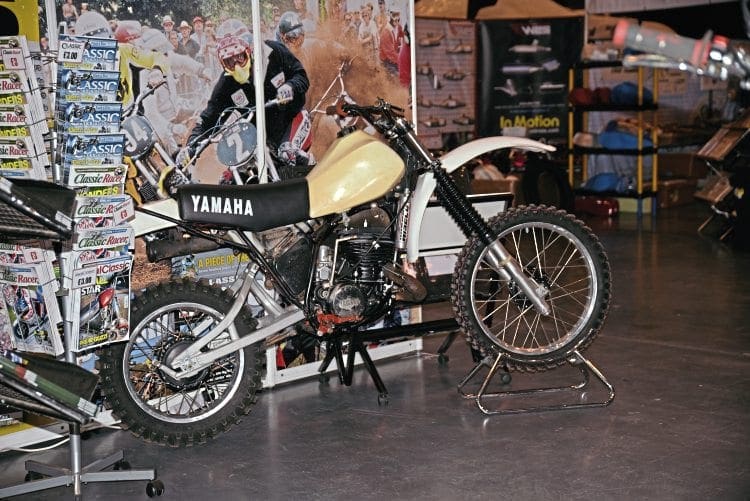
Put two off-roaders together and the first question from either is generally “What’ve you got on the go at the moment?” This is often followed by “You’re doing a WHAT!?” Occasionally, it is “Oh, one of those…” but more often it’s “You must be mad.” You choose which of these statements is applicable to us as we head into Act Eight of the ‘King of the IT crowd’.
Still needed?
- Twist grip rotor
- Underseat tray
- Nuts and bolts
- Head and tail-light
Words and pics: Tim Britton
Enjoy more Classic Dirt Bike Magazine reading.
Click here to subscribe & save.
One of the things about a rebuild is it’s easy to forget stuff, obviously the faster a project is completed the better it is and the less chance for the ‘now, where does that bit go…?’ scenario to arise.
In a perfect world everything would be available and we’d all have time to devote to our project and when we went to various service providers we would be first in line.
Does anyone live in such a world? I know I don’t and while the suppliers and helpers involved in this project have been brilliant, they’re not at our beck and call and if there’s a hiccup at our end it delays things at the other.
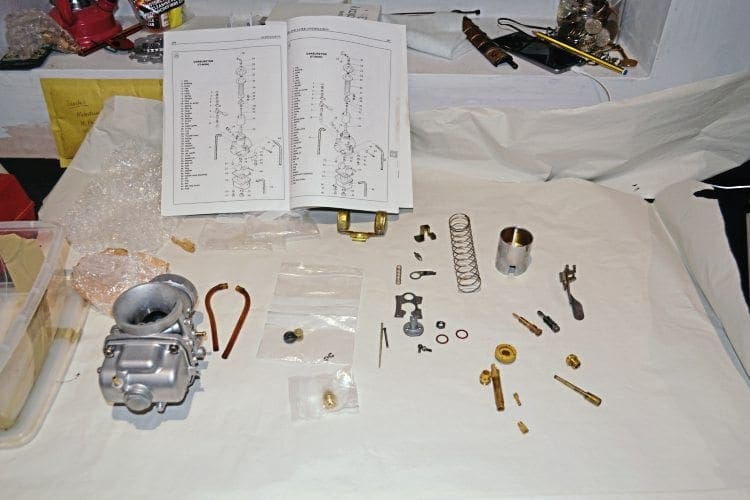
One such hiccup was in the carburettor, which has a few clips and springs in various places, very small springs of the sort of size that makes those ones in a ballpoint pen look like rear damper springs.
This particular carb spring is in the float needle area and after reading the strip-down instructions, which warn of the spring and to take care when stripping the instrument, I worked carefully, but not carefully enough though, as it sprang out of the recess it was in, bounced twice on the bench and hit the workshop floor to be forever lost… yes I did try to find it, knowing full well there wasn’t a hope in yon place’s chance.
Why did the carb need stripping? Well, given the state of the rest of the bike, goodness knows what the internal drillings would be like so, apart it came and off to Chris Claydon at CC Clean Carbs, where his sonic bath would make sure everything was pristine inside.
This process never fails to amaze me and watching the muck come out of a carburettor that was thought to be clean is an eye-opening sight. Just in case you’ve not seen the feature we ran on carb cleaning several issues back, what happens is the part that needs cleaning is placed in a tank of solution, the sonic device is switched on and sound waves create microscopic bubbles that agitate dirt, crud and the like from hard to reach places, such as carb passageways.
Unlike blasting or squirting with an aerosol cleaner, the sonic process pulls stuff out of drillings, whereas blasting or squirting will tend to push stuff through.
But in order to do this the carb has to come apart and I guess we’ve all had that sinking feeling of watching a tiny component fall through a gap in the floor or down the back of the bench or wherever. Still, the spring, or rather the float needle valve assembly with the spring in it, is a stock item… usually.
One thing I knew wasn’t going to happen when reassembly took place was any chance that bits could be lost.
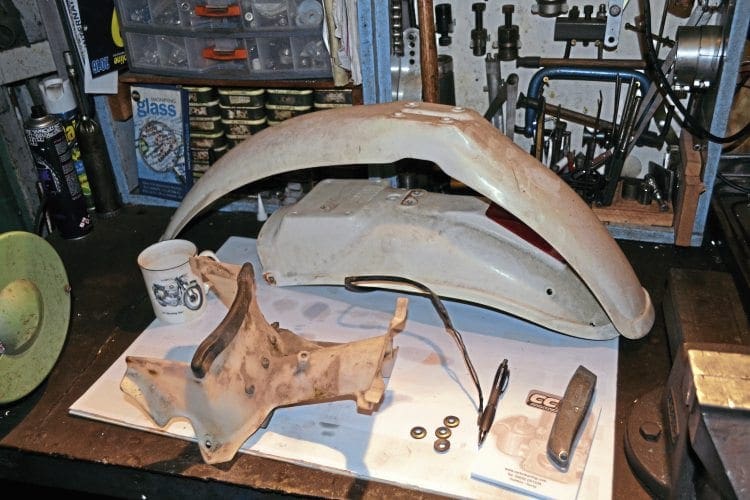
These tiny bits remained securely in their package until one evening I commandeered the utility at home, cleaned all the worktop off, laid out a sheet of off-white paper – actually a roll end from the Mortons Print department and about a metre wide at whatever length you want – tucked the edges up to make paper ‘tray’ and laid out all the carburettor bits in sequence.
This was helped by remembering to photocopy the exploded diagram from a manual showing the assembly sequence. If I can suggest a tip to do then this is it, copy a diagram, blow it up to twice over the size and lay it next to the carb as you assemble.
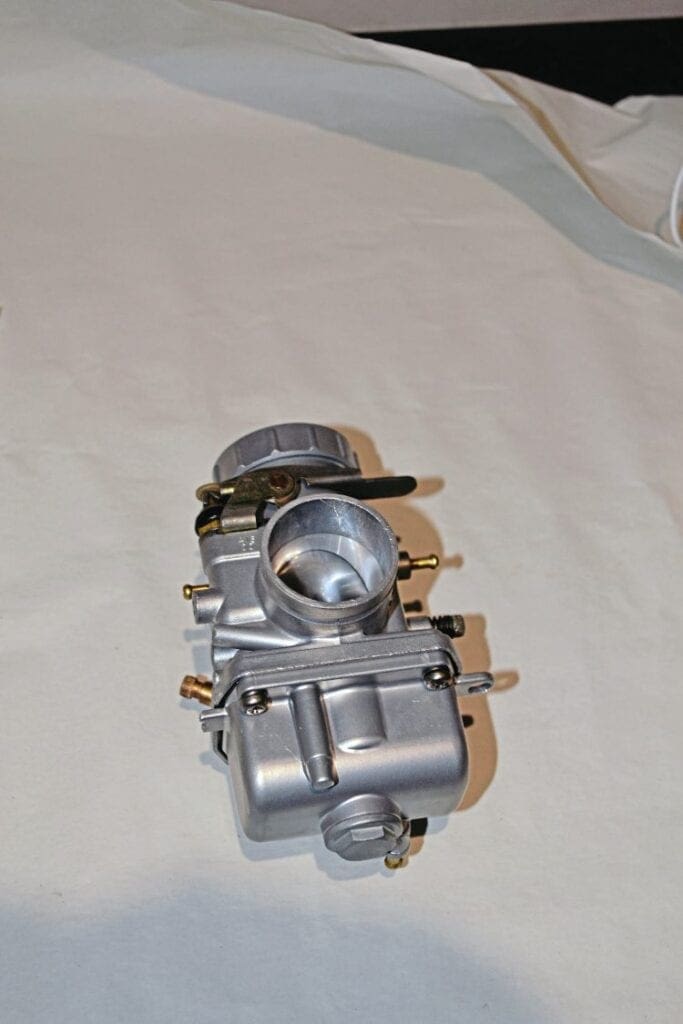
The tools needed to do the job had been pre-cleaned and I’d even checked to see if any special bits of kit would be needed… it would be nice to claim I was always this organised, but I’m not and I might as well be honest about it. However, the assembly went smoothly and the carb looks good on the back of the barrel.
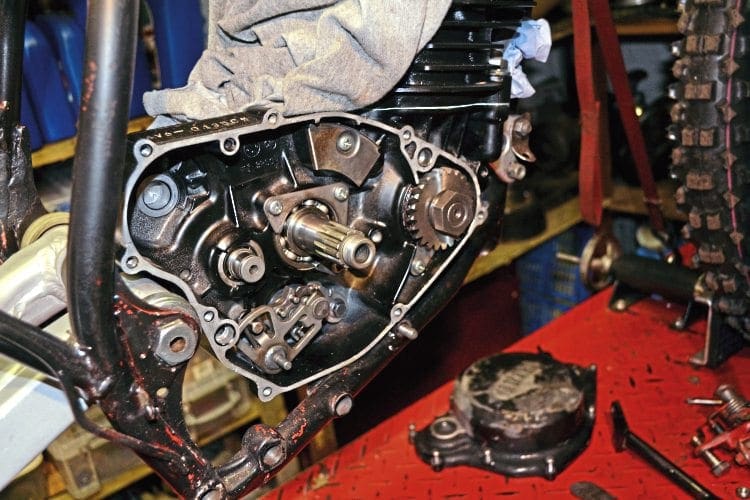
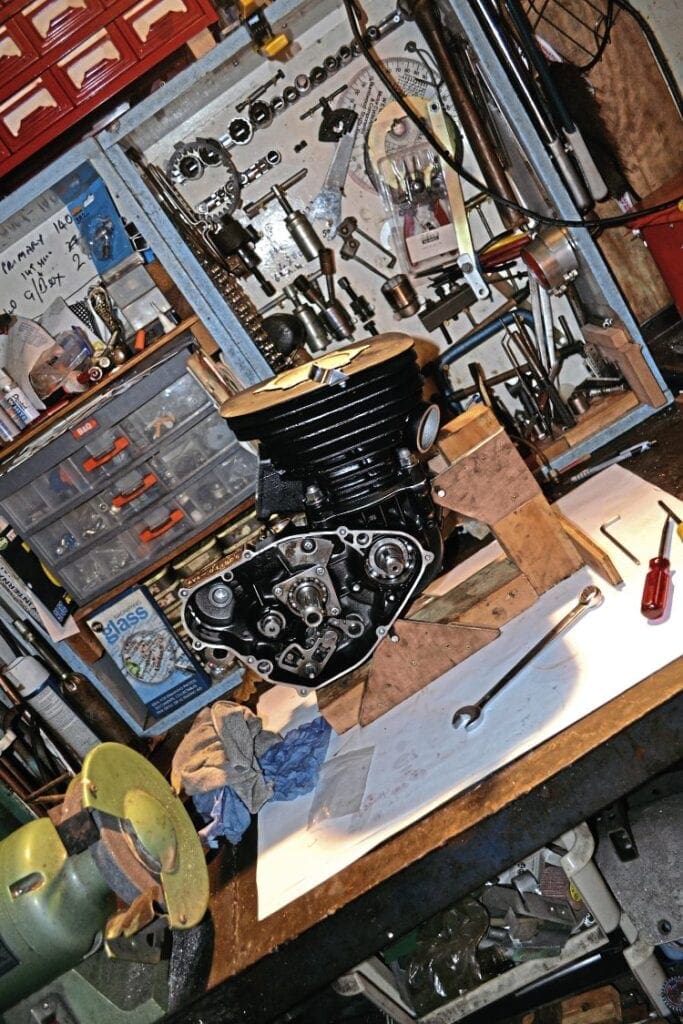
Before that, the engine was assembled and quite a bit of care was taken over heating cases so cold bearings would drop in rather than having to be forced. The gearbox went together easily, the crank slipped in with the help of a puller and the cases were closed.
Then came the barrel and the (almost) great circlip disaster. Once that was sorted I slipped the engine in the frame before starting to hang other parts on, such as the ignition and clutch.

It would have been possible to assemble the lot on the bench but that would have made the engine twice as heavy and fitting it to the frame means it is securely held while parts are attached.
Now, we could liberate some of the new bits that had replaced those parts too worn out to re-use.
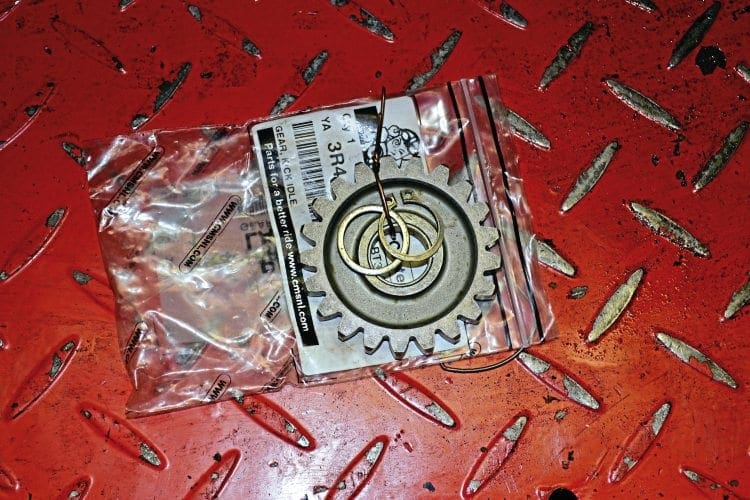
Things like the kick-start idler pinion and cog, which are those bits that suffer abuse in the life of the bike and it seems were very rare, but a friend found the shaft cog on his spares shelf and CMS NL had the last possible idler pinion in existence.
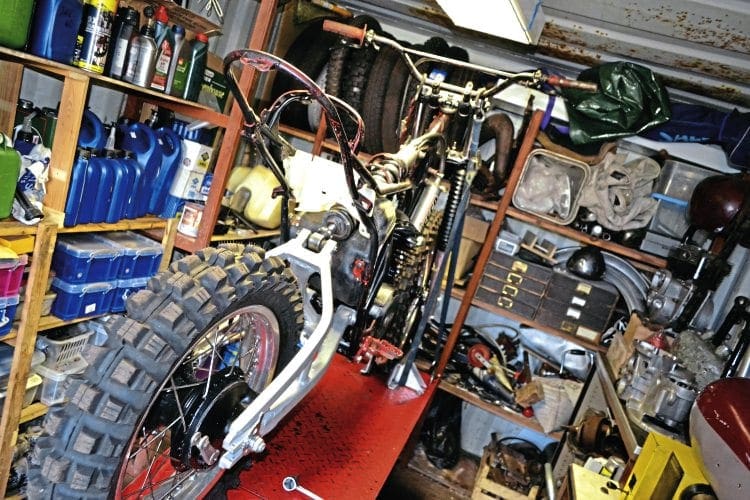
Okay, we could have had one made, but we got an original part. It also seemed a good idea to start temporarily adding bits to the rolling chassis so we could remind ourselves of what was missing, what went where and what we’d have to search for.
In the main assembly went okay, as I’m sure most people who’ve looked after their own bikes will know that you do get a feel for what should go where and what maybe needs taking off and turning round.
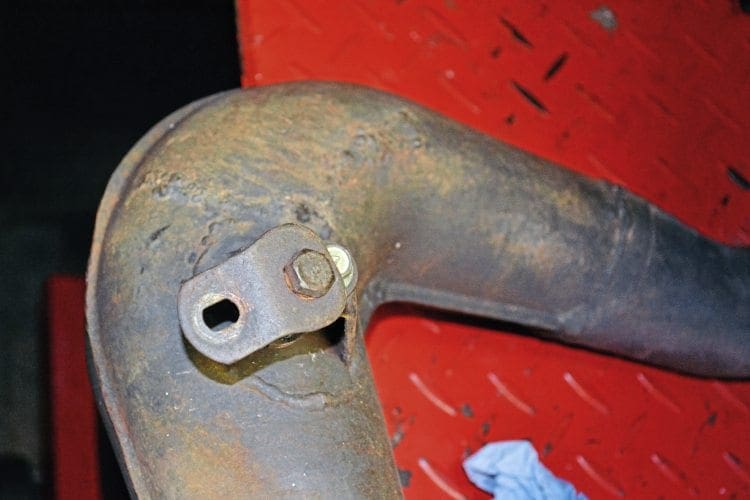
Just such a thing was the exhaust pipe top bracket, which foxed me for a bit. It rubber mounts the pipe and has to go on a particular way to mount through the tapped hole in the frame.
The problem is it fits the other way too and pushes the rear of the pipe a long way out. Stuff like that is where the sketchpad or the photo album comes in and a glance through the images showed the error.
In an assembly such as this there are often sequences to work to in order for assembly to happen.
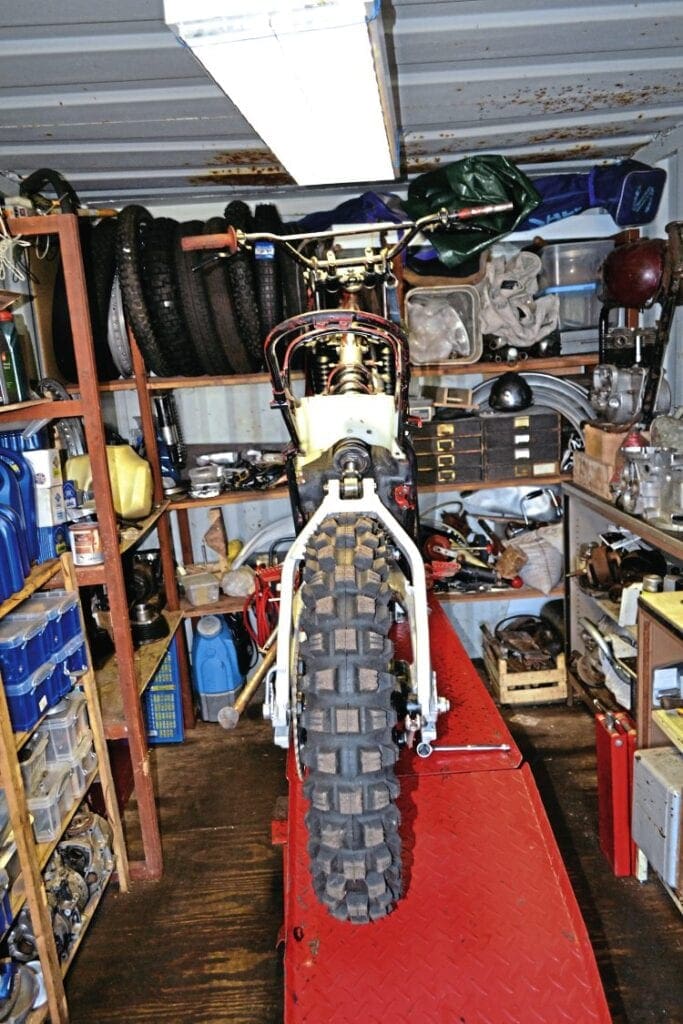
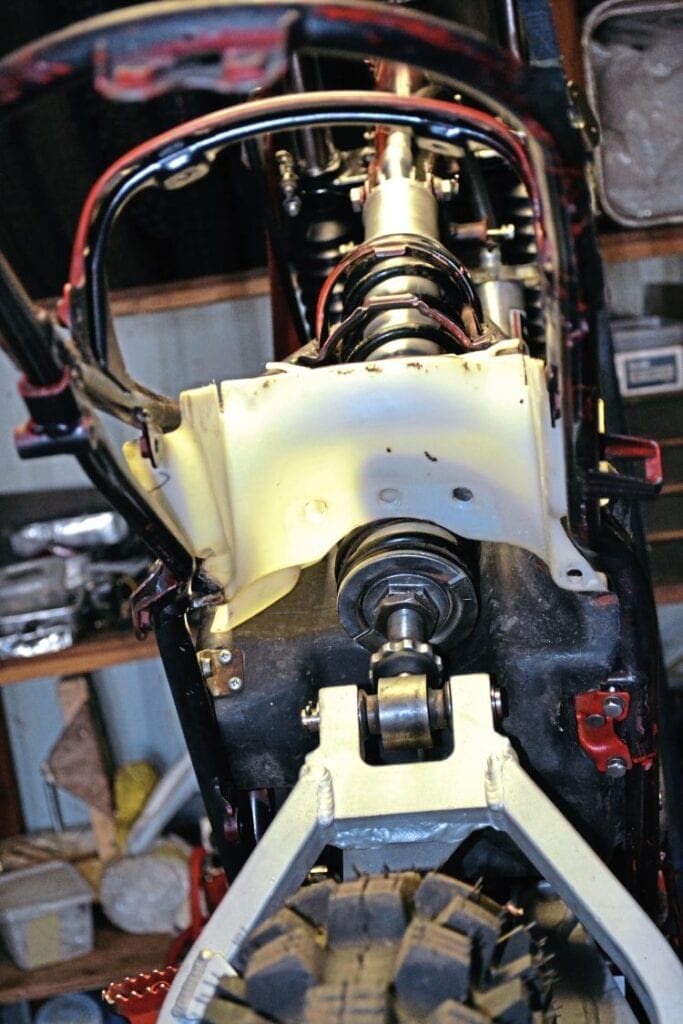
Having had the bike as a bodywork free rolling chassis for some time it was obvious that the various plastic undershields protecting the airbox area from dirt and muck should go on before the whopping great rear damper.
Luckily, a couple of bolts hold the damper and it is a simple job to whip it off and add the plastic and then the damper. But such things are part of the fun of rebuilds; at least that’s what we convince ourselves when we’re busily cursing in the shed on a cold February evening.
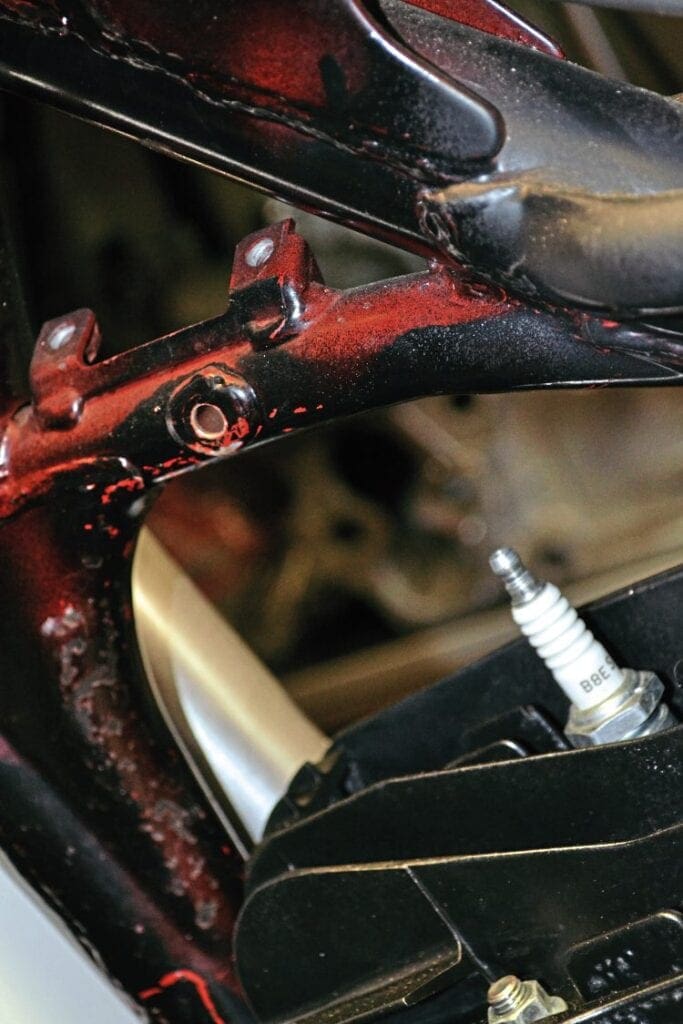
The great circlip caper
Readers or perhaps sufferers of ‘In Balance’ will have read about that heart-stopping moment when I thought I’d not seated a piston circlip properly and had to dash out on Christmas Day to inspect the engine closely.
A few of you suggested it was just my way of legitimately spending time in the shed on Christmas Day, but even more of you admitted to your own ‘moments of panic’ in such circumstances.
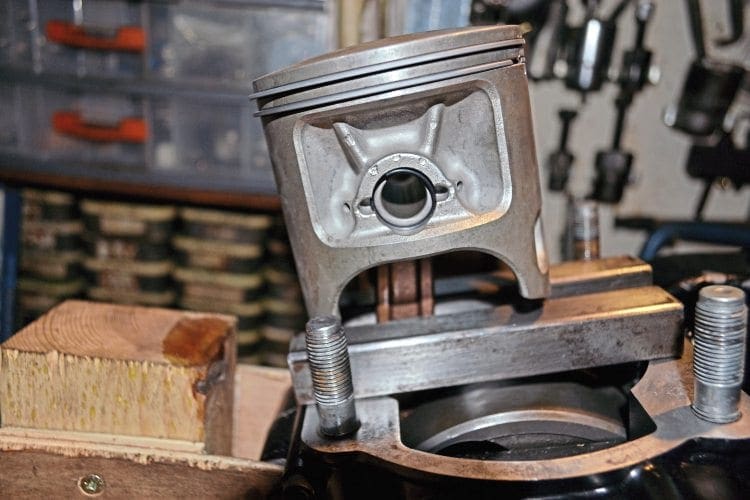
So, here are the two pictures that caused the Christmas furore – clearly the circlip can be seen not seated correctly and the next pic in the sequence shows the barrel in place and the ‘did I, didn’t I’ thought surfaced. In the end I had seated the circlip but well…
Carb assembly
Services and supplies
Web forum
www.yamahait.com.au
Advice and help from like-minded people
Motoduro
Enduro parts specialist
www.motoduro.co.uk
Tel: 01604 764763
[email protected]
CMS
Japanese parts distributor based in Netherlands, lots of rare stuff.
www.cmsnl.com
Plastic care
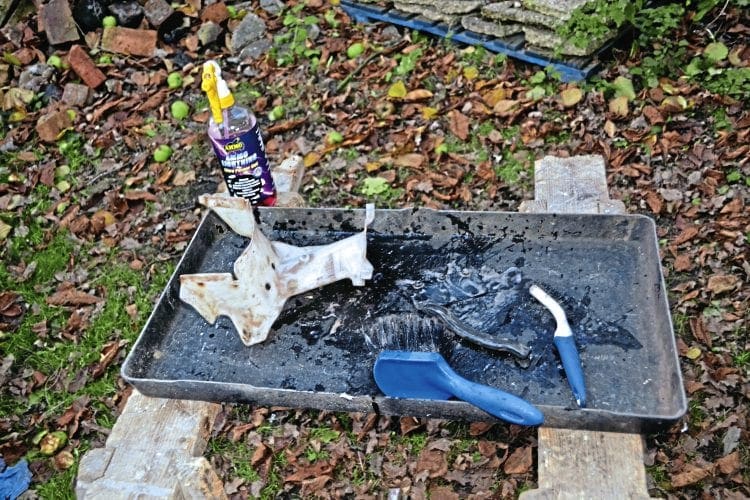
Because our project bike has spent a lot of time sitting in the sun… before it came to the UK naturally… the plastic guards are faded and powdery.
Initially, wholesale replacement was the way forward but then I saw an internet tutorial on how to renovate plastic guards that involved scraping the powdery faded stuff off with a disposable knife blade, then warming up the surface with a heat gun to bring the shine back.
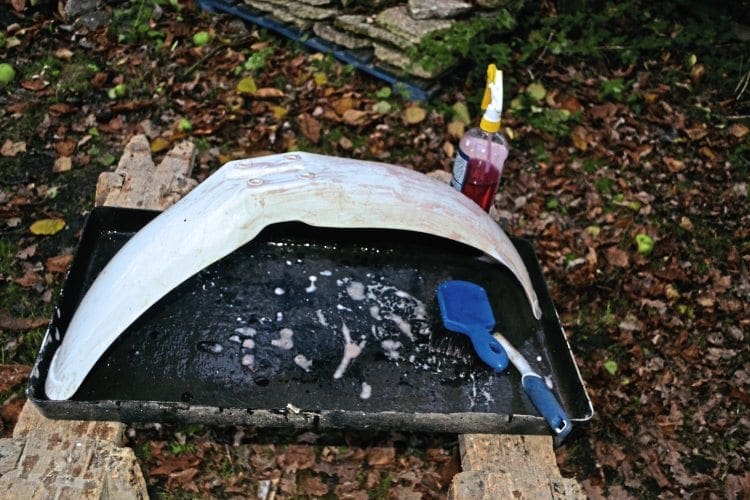
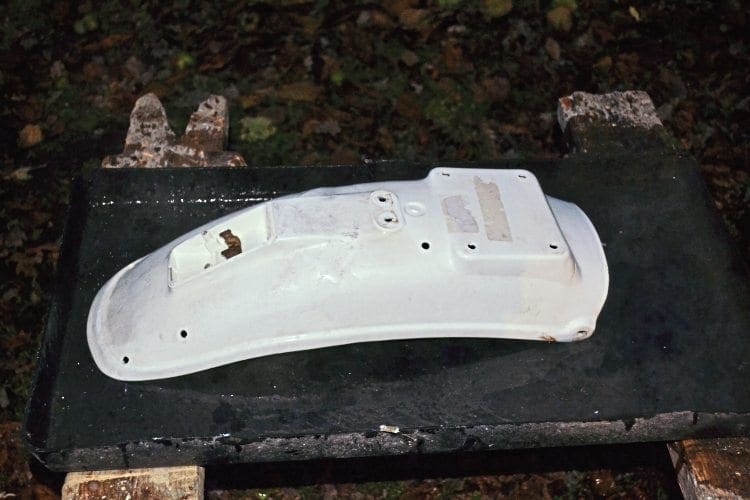
I tried it and yes, it works, but what you need to be certain of is a replacement guard or whatever isn’t available because this is a thankless and time -consuming task during which I began to question my existence.
At the end of the job I saw another internet tutorial in which a lad used very fine wet and dry abrasive paper and managed to bring an acceptable finish to the plastic surface…
Read more News and Features online at www.classicdirtbike.com and in the latest issue of Classic Dirt Bike – on sale now!